• Skip to primary navigation
  • Skip to main content
  • Skip to primary sidebar
  • Home
  • About
  • Blog
  • Baking 101 Index
  • Contact

The Brownie Quest

Blog

What’s The Difference Between Cocoa Powder And Cacao Powder?

December 9, 2020

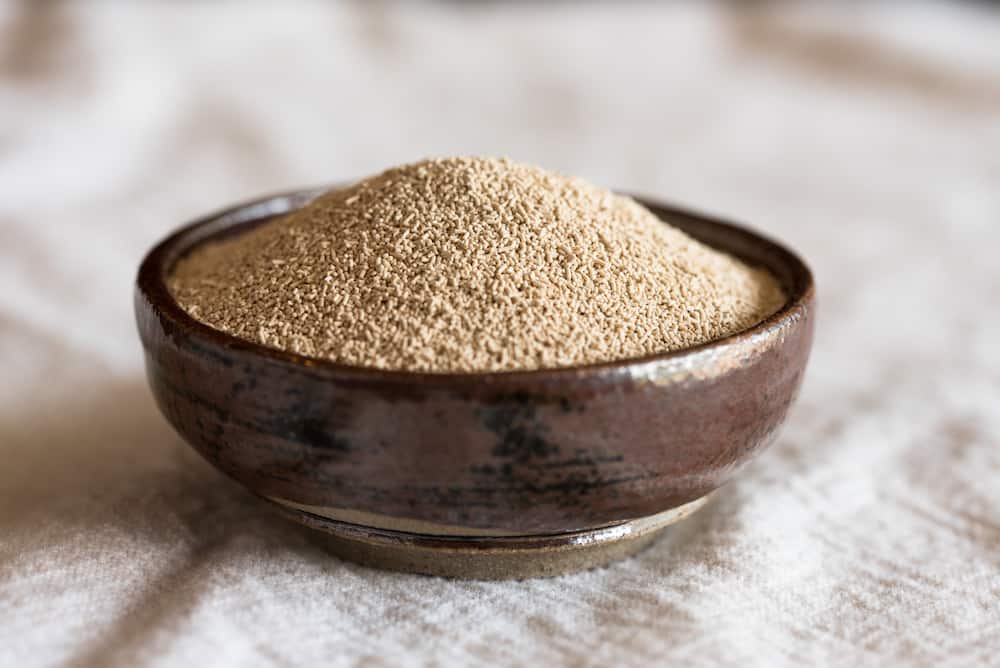
The struggles of being a 20-something living with my hippie vegan parents: at the beginning of the pandemic, my parents panic-bought a whole lot of nutritional yeast, beans (dried and canned), rice, and cacao powder.

Cool.

So now we have too much cacao powder in our house, which made me wonder: what is the difference between cocoa powder and cacao powder anyway? Can they be used in place of one another in recipes?

Let’s find out!

Origins: Where Does Chocolate Come From?

Cacao fruit being split open, showing the seeds inside
A cacao fruit being split open. Those seeds are what makes chocolate!

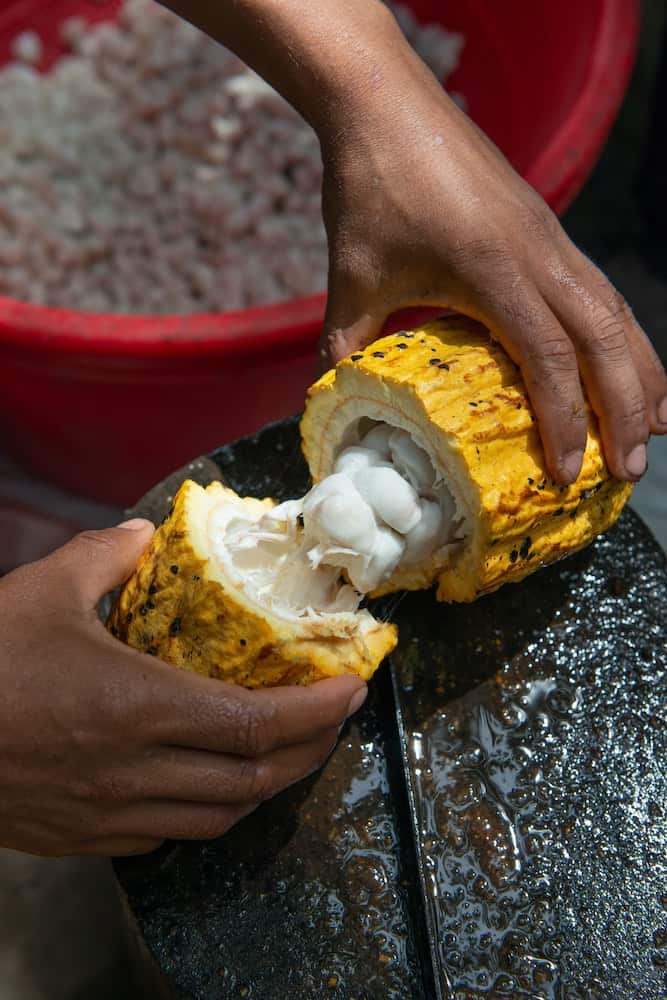
Both types of powder start out from the seeds of the cacao tree, which is native to South America and western Africa. These seeds come inside the fruit of the tree and are surrounded by thick pulp. .

First, the beans are removed from the fruit and left in bins for a few days. Microbes from the fruit start to ferment the beans and develop their chocolate flavor.

Next, the beans are dried, sorted, and roasted at a high temperature. Just like coffee, roasting cacao beans gives them a richer flavor.

After roasting, the beans are crushed and removed from their shells, and then processed further. This creates a liquor that can then go on to become chocolate and other chocolatey products.

So when do cacao and cocoa powder get made in this process?

Cacao Powder

Cacao powder is made after the beans ferment, but before they get roasted. These unroasted beans get processed and milled at low temperatures, creating a powder that retains the nutritional benefits of the cacao bean (a number of good-for-you antioxidants and minerals, such as calcium, magnesium and iron).

Because of these nutritional benefits, cacao powder is often marketed as vegan or as a health food, as it’s a minimally processed product and usually doesn’t have any additives or preservatives.

In terms of taste, cacao powder has a chocolatey taste that is stronger and more bitter than cocoa powder.

Cocoa Powder

Cup of hot chocolate
Hot chocolate: an excellent and festive use of Dutch process cocoa powder

Cocoa powder is made at the final step of processing. The liquor is run through hydraulic presses, which removes about half of the fatty cocoa butter out, leaving dry solids. It’s then pulverized into powder and ready to sell.

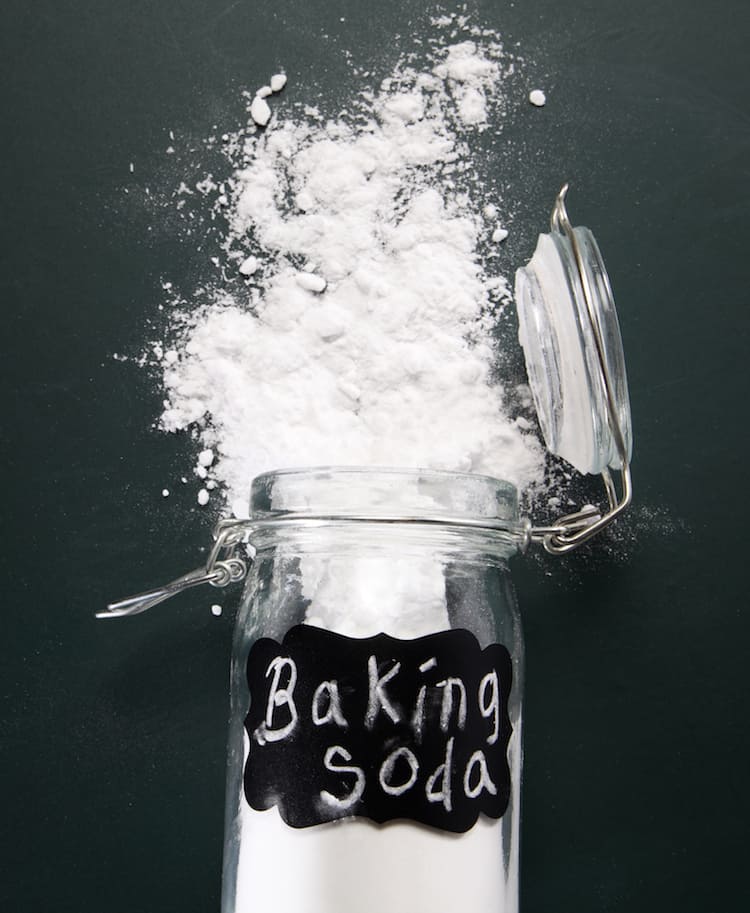
Dutch processed cocoa powder adds baking soda before pulverization in order to alkalize the final product. This reduces acidity and bitterness, and makes the cocoa powder more water-soluble.

The process of roasting cacao beans at high temperatures makes them taste great, but unfortunately, it also destroys a lot of the nutritional value. 

Some cocoa powder can also contain added sugar or dairy, so be sure to check the ingredients if you’re vegan or allergic to dairy!

Are Cacao and Cocoa Powder Interchangeable?

Cacao and cocoa powder aren’t generally interchangeable. They have different flavor profiles, and you’ll be better off sticking to whichever your recipe calls for.

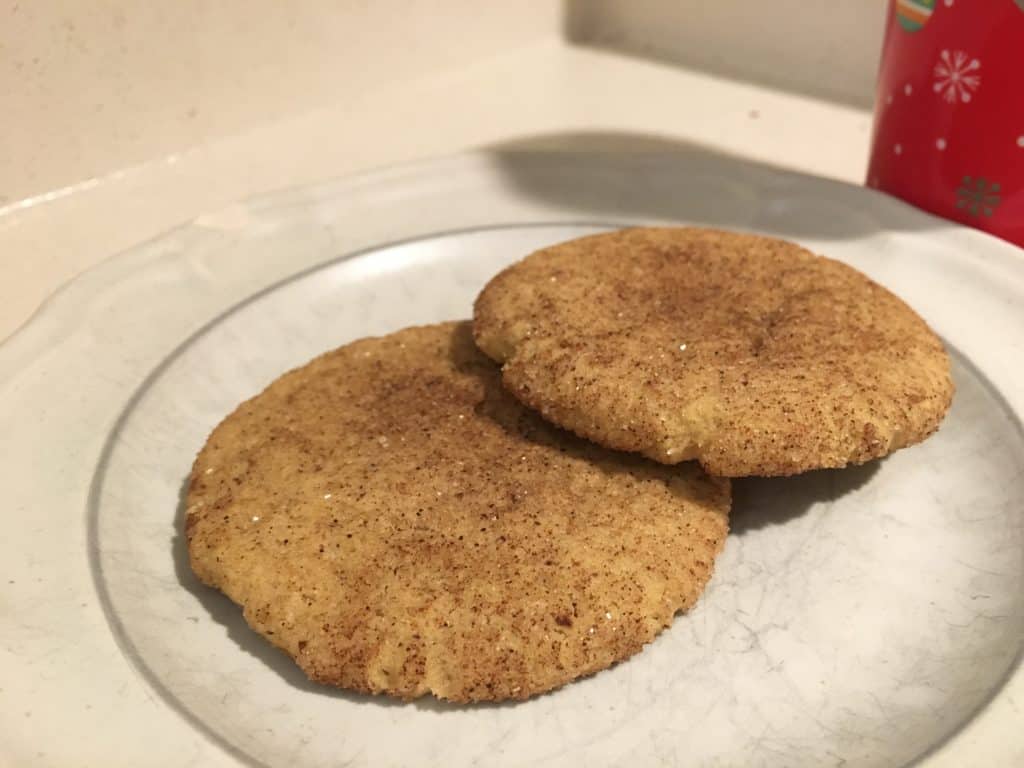
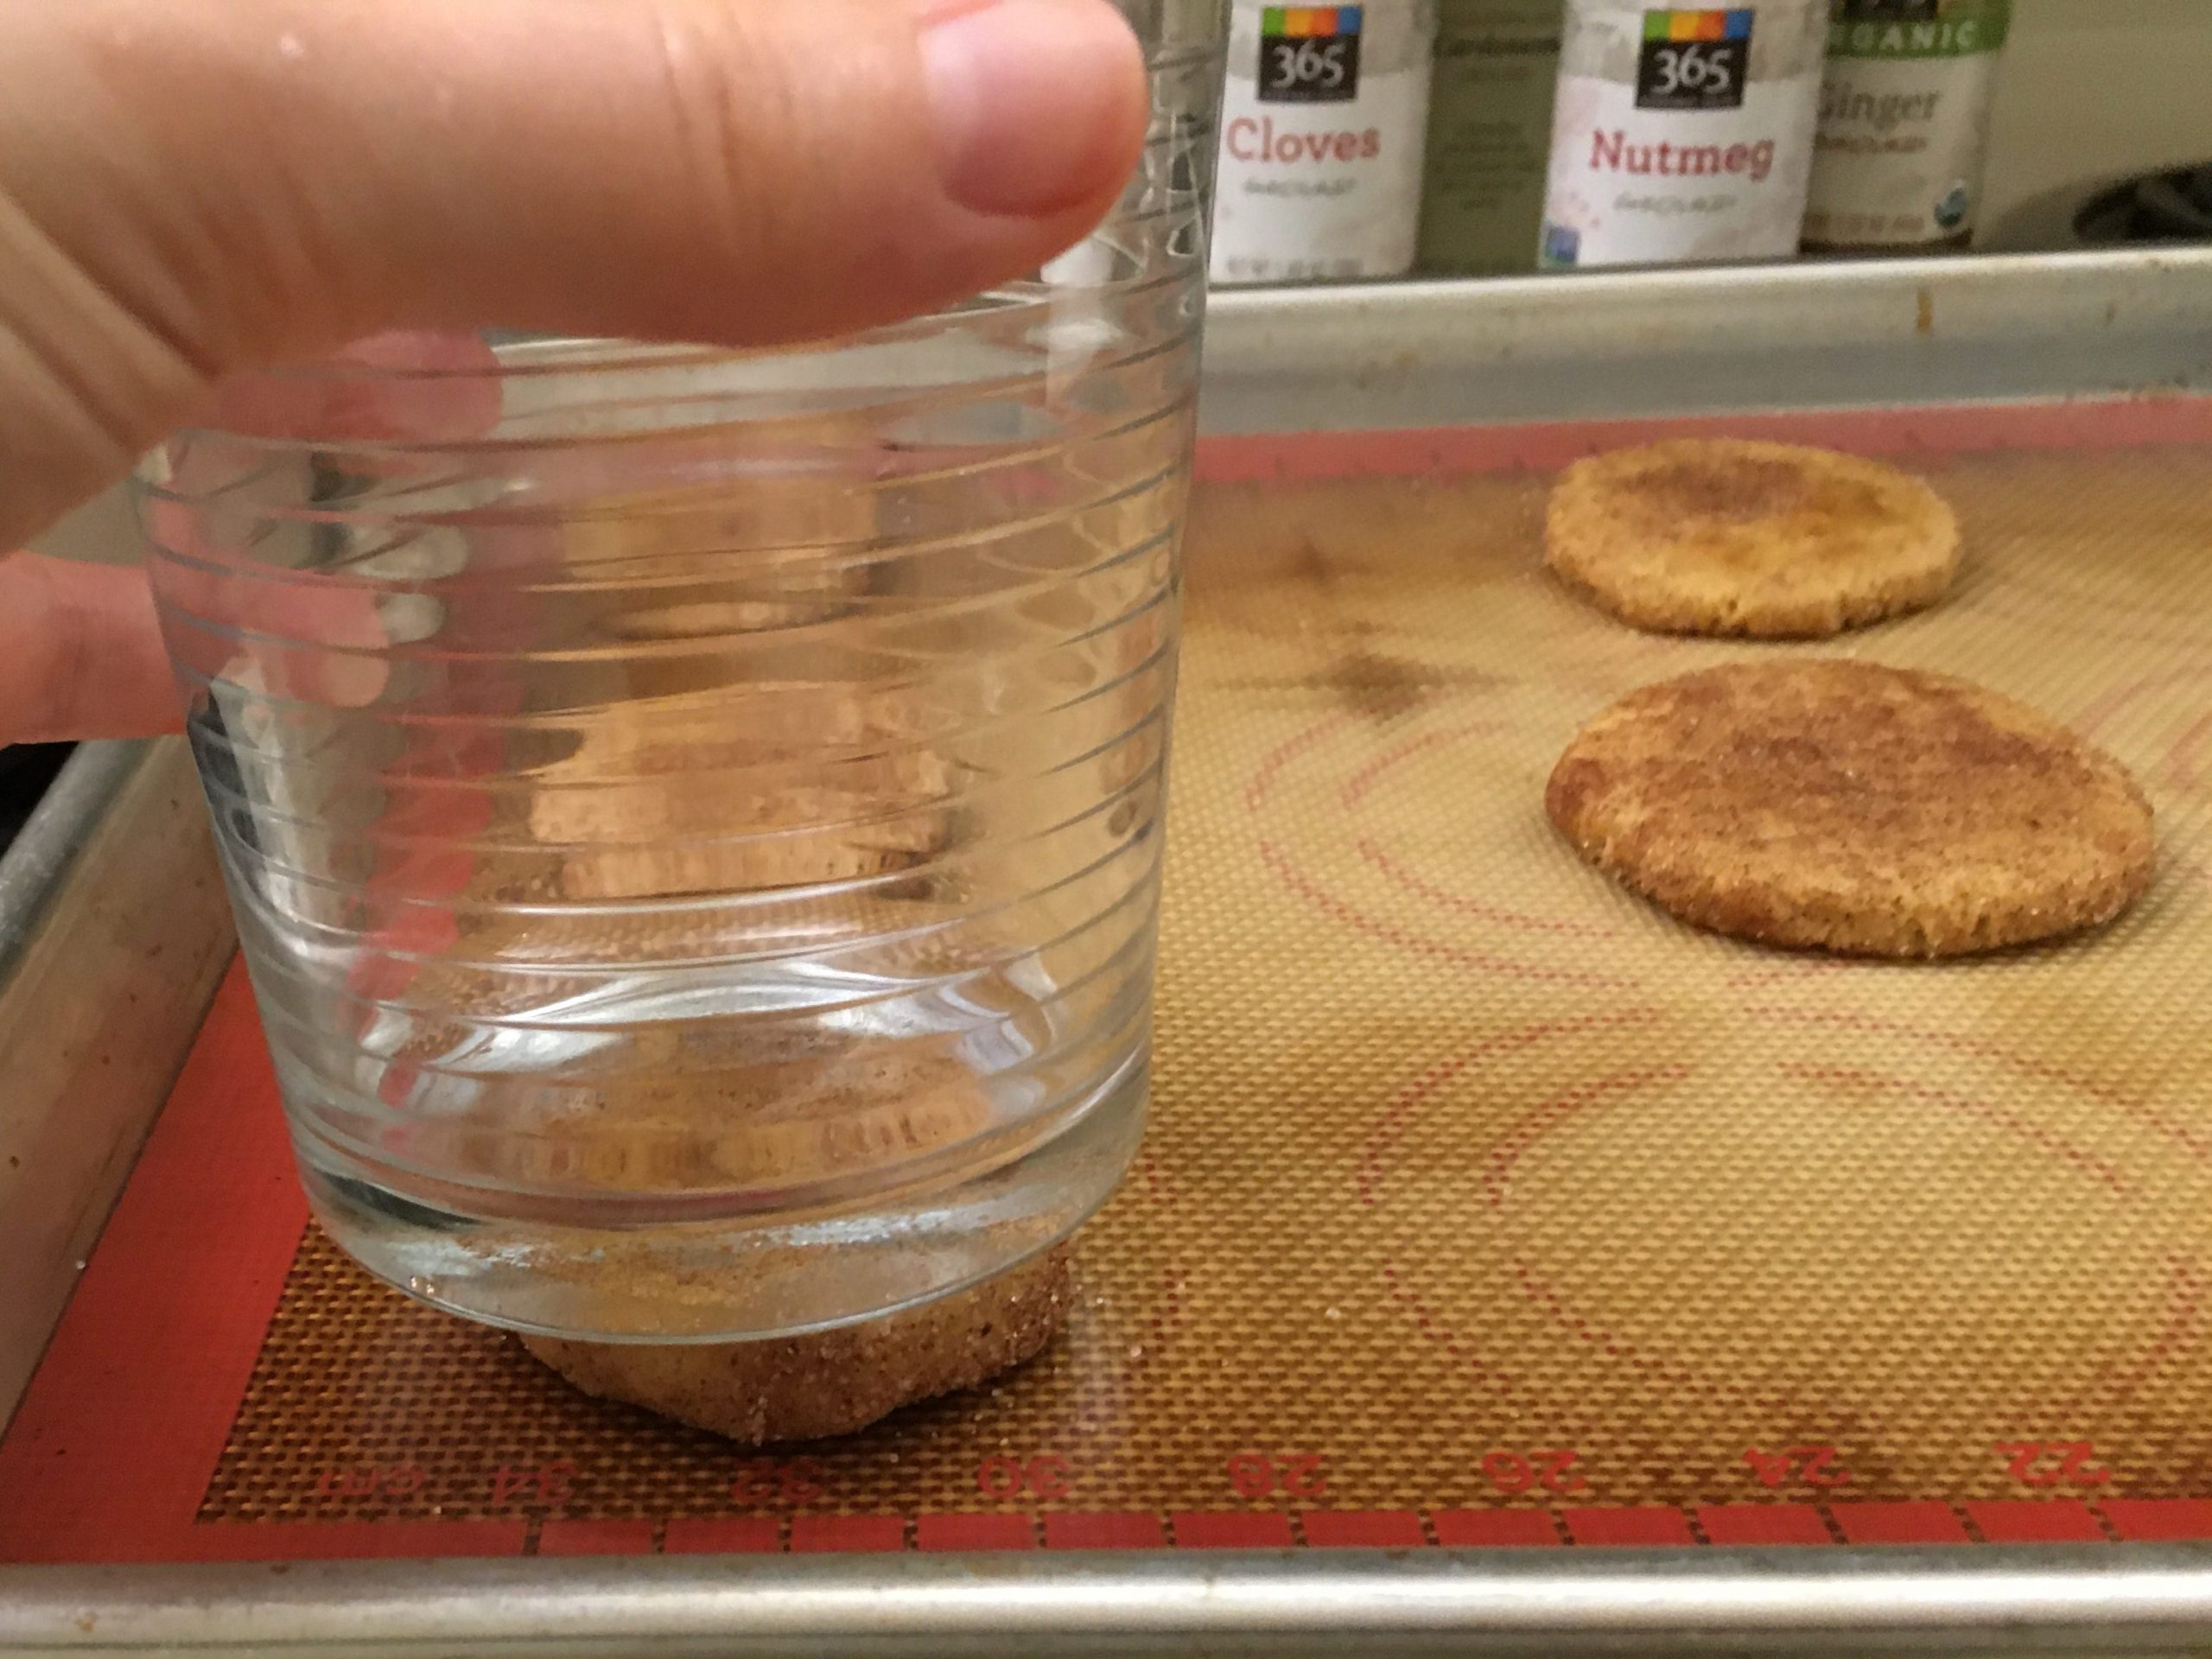
In general, cocoa powder is commonly seen in recipes for chocolatey desserts: cakes, brownies, cookies, that sort of thing. You can also make hot chocolate out of it.

Smoothie glass next to a variety of fruits
What better addition to this delightful assortment of fruits than some cacao powder?

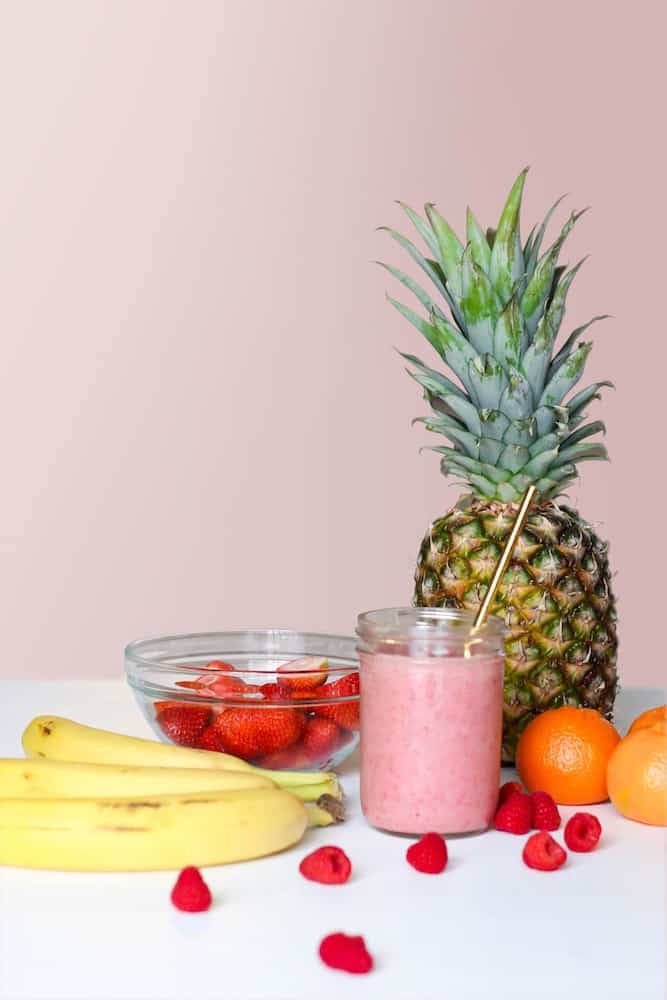
Cacao powder is a popular addition to healthy foods like smoothies, chia puddings, and oatmeals. Some raw desserts also call for cacao. Since baking cacao can decrease its nutritional value, it’s best to eat it raw and uncooked.

If you only have one type of powder and feel the need to use it in place of the other, here’s some things to keep in mind.

Cacao powder tastes stronger and more bitter. You may want to use less of it in place of cocoa powder.

Cocoa powder isn’t as water soluble as cacao powder (with the exception being Dutch-processed cocoa). You may have to add or subtract liquid to achieve the right texture.

You may also have to adjust the amount of leavening agent used. Cacao powder is more acidic than cocoa powder – especially Dutch processed, which is made to be more alkaline. Thus, cacao powder will react more to baking soda, and you’ll need to use less of it. 

While there’s no shame in playing around and experimenting if you want, overall, it’s probably more trouble than it’s worth to try and substitute these two products. They’re pretty different, despite coming from the same origins. And if you substitute one-for-one, your baked goods might not taste right or have the correct texture.

Happy baking!

Filed Under: Baking 101, Blog, Ingredients, Science Tagged With: baking 101, baking science, cacao powder, chocolate, cocoa powder

Vegan Pumpkin Spice Sugar Cookies

November 13, 2020

Plate of cookies

Snickerdoodles are my favorite cookies. They’re spicy and a bit tangy from the cream of tarter. Delicious.

Plate of cookies next to a mug with a sloth on it
Best enjoyed with a festive mug, preferably with your favorite animal on it.

So I set out to create a pumpkin spice snickerdoodle. That… didn’t happen, if you’ve read the title. But never fear! I created something just as delicious: a pumpkin spice sugar cookie!

It’s soft, since it gets its moisture from actual pumpkin. Too soft to qualify as a snickerdoodle, but hey. If you like the taste, just rebrand it to something else!

(I’m still working on that snickerdoodle recipe, but I think these cookies are just as good!)

They get their pumpkin spice flavor from five different spices. Of course, you can always use pre-made pumpkin spice – they sell it at most grocery stores, especially during the fall and winter. I like to craft my own perfect balance of spices though.

Jars of the spices used in the recipe
The Spice Girls have never looked better!

I’m also very into cinnamon and other spices. I wrote the recipe so it would have a nice taste of spice, but you can add more or less depending on your spice tolerance.

Not only is there pumpkin spice flavor on the outside of the cookie, I’ve also included some in the batter for extra festive flavor!

This recipe is fairly straightforward. Before you put your tray in the oven, be sure to press down lightly on each cookie with a glass in order to shape them. These cookies don’t naturally flatten, so shaping them prior to baking helps give them a nice round shape. It also helps them bake more evenly!

Please enjoy this action shot of me smushing cookie dough with a glass.

Now, onto the recipe:

Print Recipe

Vegan Pumpkin Spice Sugar Cookies

Soft, melt-in-your-mouth pumpkin goodness. These cookies are sure to put you in the autumn spirit!
Prep Time20 minutes mins
Total Time30 minutes mins
Course: Baking, Dessert
Keyword: cookie, pumpkin spice, Recipe
Servings: 24 cookies

Ingredients

Dough Ingredients

  • 100 g (1/2 cup) vegan butter softened
  • 100 g (1/2 cup) sugar (plus 50g/ 1/4 cup extra for rolling cookie dough)
  • 50 g (1/4 cup) brown sugar
  • 2 tsp vanilla extract
  • 70 g (1/3 cup) pumpkin puree (not pumpkin pie filling!)
  • 250 g (2 cups) all-purpose flour
  • 1 tsp cream of tarter
  • 1 pinch salt
  • 1 tsp baking soda

Spice Mixture

  • 1 tbsp cinnamon
  • 1 tsp nutmeg
  • 1 tsp cloves
  • 1 tsp ground ginger
  • 1 tsp allspice

Instructions

  • Preheat oven to 350°F (180°C). Line a pan with parchment or baking mats.
  • Prepare the spice mixture by combining the cinnamon, nutmeg, cloves, ground ginger, and allspice into a small bowl. (You can also use prepackaged pumpkin spice if you prefer, but I like making my own.)
  • Soften butter to room temperature (or put in the microwave for until soft but not melted). Cream with the sugars for around two minutes, or until light and fluffy.
  • Add the vanilla and pumpkin puree and blend until combined.
  • To a separate bowl, combine flour, baking soda, cream of tarter, salt, and 1 tablespoon of the spice mixture. Stir until combined.
  • Add dry mixture into wet ingredients. Mix until just combined.
  • To the remaining spice mixture, add 1/4 cup of sugar and stir until combined.
  • Take a tablespoon of cookie dough, form into a ball, and roll in the sugar-spice mixture until covered. Place on the prepared baking sheet.
  • When all the cookies have been rolled in sugar, press down on each one with a glass until they're flattened to a couple centimeters tall.
  • Bake for 8-10 minutes. Let cool before eating.

Have you tried this recipe? Let me know how it turned out in the comments!

Filed Under: Cookies, Desserts Tagged With: cookies, dessert, vegan

Vegan Baking 101: Vegan Butter Substitutes

October 30, 2020

As a companion post to my vegan egg replacement guide, I thought I would enlighten you about the wonders of vegan butter. What is it, what brand is best, and do you even have to use vegan butter while baking anyway?

What is the difference between dairy butter, margarine, and vegan butter?

Butter is basically a stick of fat (mmmmm!). But don’t let that put you off of it. It’s super important in baking. 

Dairy-based butters are made by churning the cream from cow milk/other animal milk until it forms a more solid butter. Today, dairy-based butters have to contain 80 percent fat, although some fancier brands contain more.

You might think that vegan butter is just made out of churned plant milk or something. But plant milks don’t have the necessary fat content to churn like cow’s milk.

Vegan butter is more like margarine. It’s typically made from oil and is meant to taste, look, and act just like butter. 

Margarine is an oil-based butter substitute. It’s actually been around in some form for centuries. Despite being oil-based rather than dairy-based, it’s not always vegan, as it can contain whey or lactose. So if you’re avoiding dairy, be sure to check the ingredient list or just go with a certified vegan brand.

Why am I talking so much about non-vegan products? Well, it’s because butter (vegan or non-vegan) is super important when baking! It’s got a number of functions that you need to understand…

What is butter’s function in baking?

Texture

Ever had a baked good that was unappealingly dry and crumbly? Among other issues, it may not have had enough butter in it.

Basically, butter (and other fats) work by shortening gluten strands. Glutens are storage proteins that can stretch when worked with and heated. This creates the great texture you find in your bread. 

When you create a dough or batter, the fat in the butter coats the flour (and these gluten strands), which slows down the gluten formation. The proteins don’t stretch as far as they would otherwise.

One clear way to see this difference is in bread. Compare a loaf of simple yeast-risen bread with no butter in it (like a baguette) to an enriched dough made with butter (like a hamburger bun). The baguette is a lot chewier on the inside, with a nice crust on the outside. The hamburger bun, on the other hand, is softer and easier to chew.

Leavening

Sure, the first thing you think of when you think of leavening (aka raising agents) is baking soda and powder. But butter also leavens baked goods.

Think of puff pastry or croissants. These baked goods rely on butter to give them their texture. To make them, you create folds of dough with butter inside each layer. When baked, the steam from the butter causes the pastry to rise, while the fat from the butter causes it to get flaky.

Similarly, whipping air into butter at the beginning of a recipe also helps make for lighter baked goods.

Flavor

Fat helps give a surprising amount of flavor. It makes your baked goods have a nice, tender mouthfeel.

Butter itself also has a creamy, salty… well, buttery flavor. Vegan butter replicates this, so your shortbread will taste just as good as its non-vegan counterpart.

What is the difference between brands?

This post aims to give you a general overview about vegan butter, rather than recommending one brand over another. But if you want specific recommendations, Food 52 has written a great article about ten different brands of vegan butter you can buy. It’s all a matter of opinion, obviously. But it will give you a good rundown of some of your butter options.

Here are some more general things you can look for when going to purchase vegan butter from your local supermarket.

Ingredients

Vegan butters are usually made of oil, salt, cultures, and flavorings. In the past, vegan butters were more like traditional margarines, composed just of oil. But more recently, companies have been adding nuts such as cashews and macadamia nuts for added creaminess.

I tend to prefer these nut-based butters for baking, as I find that the oil-based butters make for greasier baked goods. I would also rather eat coconut oil and cashews (the ingredients of my favorite butter, Miyoko’s) than canola oil.

But obviously, if you’re allergic to nuts, you may have to prioritize going with an ingredient list that you’re not allergic to. 

Different brands use different types of oil. A lot of newer brands seem to be using coconut oil – which is a great choice for reasons I’ll talk about later! But you can also find butters made of sunflower, canola, or olive oil.

It should be said that some brands, such as Earth Balance, use palm oil as a base. If you’ve been in conservation circles for any amount of time, you’ll know that palm oil is bad news for the environment. This seems at odds with a vegan product, aimed at environmentally-conscious consumers, right?

In 2015, the company committed to only using sustainable palm oil, which is a positive step. Still, palm oil is a controversial product that many people are trying to avoid. You may want to take it into consideration when you’re purchasing a butter substitute.

Price

Unfortunately, vegan butter can get pricy AF if you’re baking a lot. Especially if you’re buying from your local organic supermarket that up-prices everything.

Certain brands aren’t that much more expensive than dairy butters, but some more artisanal brands can get to be seven to ten dollars per package. Yikes!

If you really like a certain brand, you may also be able to shop around and find better deals. We’ve found Miyoko’s butter for two dollars cheaper at Trader Joe’s than at our expensive organic grocery store.

Sticks vs containers

Vegan butter used to just come in margarine-like plastic tubs. However, there’s a lot more products on the market these days! You may want to go with a brand just because you prefer the convenience of butter sticks. (Hey, I’m not judging what’s most important to you.)

What’s actually available to you

I live in Portland with an organic grocery nearby, so I have quite a few options to choose from. But I recognize that not everyone has the same amount of choice when it comes to vegan food. And every country has their own brands. So I’d recommend trying the different brands your local store sells and going with whatever works best for you.

Do I have to use vegan butter?

Using vegan butter can be really nice. If you baked with dairy butter for years before becoming vegan, it can be nice to know that you have a product in your fridge that functions the same way.

It also has a nice taste. I especially like to use it in recipes where I want a buttery flavor – such as shortbread – or when I’m making pastries. I managed to make a decent batch of croissants with vegan butter!

But a lot of recipes don’t actually require you to use vegan butter.

The best substitute I can recommend is coconut oil. It’s hard at cooler temperatures, and liquid when you warm it – just like butter! It can even cream with sugar kinda like butter.

You might not be able to make complex, many-layered pastries with coconut oil, but for your average cookie or muffin, coconut oil is an effective butter replacement.

Downsides to coconut oil: it can be just as expensive as vegan butter if you buy it at the supermarket. My family buys it fairly inexpensively in bulk and uses it for both baking and cooking. It lasts us a long time, and it’s a decent price.

Another possible downside: unrefined coconut oil does have a coconutty taste. I love coconut and don’t mind the extra hint of flavor. But if you dislike coconut, this may deter you from it.

Other oils (canola, vegetable, olive) can also work in recipes where you need melted butter. For instance, using a liquid fat in banana bread makes it dense and soft.

However, some recipes need a more solid fat. Pastry, for instance, needs cold, solid fat to get that nice flakiness. Liquid oil won’t work here.

That’s why coconut oil is your most versatile choice (besides prepackaged butter).

I hope this guide was informative and helped you understand the science behind vegan butter!

Filed Under: Baking 101, Blog, Science Tagged With: baking 101, baking science, butter, coconut oil, vegan baking

Baking 101: High Altitude Vegan Baking

October 21, 2020

A slice of cake, with a mountain backdrop
A piece of cake, stopping to enjoy a scenic view on its mountain hike

I grew up in Colorado, so I know a thing or two about high altitude.

Like how way too many out-of-staters are convinced that they can hike a mountain, and then almost pass out from altitude sickness. (Drink water and take it easy, out-of-staters!)

Like how I went back in Colorado from my now-home in Oregon and forgot that I was now used to low-altitude. Suddenly, I was the one who wasn’t able to keep up with my friends, the one who had to stop and take a lot of water breaks. (Such fun memories!)

But stupid tourists (and me!) aside, what does high altitude do to your baking?

If you’ve read enough recipes, you may have come across special instructions for high altitude. Some boxes of cake mix also include high altitude instructions on the back:

The back of a Betty Crocker cake mix box, showing the High Altitude instructions
“Anything is possible with Betty,” including baking a cake at high altitude! (Please, though… just bake your own cake instead of using a boxed mix. I promise it will be worth it.)

But why should it matter how high above sea level you are when you’re baking? Aren’t ingredients the same thing wherever you go?

Well, yes. Recipes need the same basic ingredients, no matter where you go. But the way ingredients react with one another can be different depending on altitude.

So it’s useful to understand the way ingredients react with each other, so you can fix any problems that arise!

So what are these high altitude effects?

The biggest change is air pressure. The higher up you go, the thinner the air is. That’s why it’s harder to breathe and move on the top of a mountain than it is at a beach.

Low air pressure can unfortunately cause your baked goods to rise too fast and then fall while in the oven, leaving you with sunken or dense cakes.

As well, water boils at a lower temperature at high altitudes. This means that any moisture in your baked goods will evaporate more quickly, and your bakes may turn out too dry.

What counts as “high altitude”?

Generally, “high altitude” is anywhere that’s 3000 feet or more above sea level. This is the level officially defined by the USDA. However, bakers at 2000 feet, or even 1000 feet, might find that they need to modify their recipes a little to combat the effects of altitude.

You obviously don’t have to modify your recipes if nothing seems to go wrong for you!

But if you’re finding that your baked goods are consistently too dry, or that they’re always falling in the oven, you may want to try modifying your recipe just a little to see if you get better results.

So how do you fix these problems?

First: don’t panic!

Living in the mountains doesn’t mean you can’t bake just as well as someone living on the coast. It just means you have to bake differently and understand the science behind high altitude. And if something doesn’t turn out quite right, it might just be the fault of the altitude, not you!

Second: The most important thing is to only modify one thing at a time. There are a number of different ways to combat the effects of altitude, but you don’t want to overcompensate and change around five different ingredients. You might just end up having your finished product turn into a gloopy, messy science project.

It’s way more effective to make a recipe several times and tweak something different every time.

So what are the different things you can try modifying?

A high altitude-baking expert, taking some rockin’ muffins out of the oven! Great work!

Increase Temperature and Decrease Baking Time

As I mentioned before, low air pressure can make your baked goods rise too fast and fall while in the oven.

To get around this, you can play around with increasing the temperature of your oven by about 20 degrees fahrenheit. As well, decrease the baking time just a bit, to make up for the change in temperature.

Decrease Baking Soda/Baking Powder

With lower air pressure, leavening agents like baking soda have less air resistance. This means they are more effective at higher altitudes… but that can cause your baked goods to fall in the oven.

You can get around this by decreasing the amount of leavening agent slightly. The specific amount you should decrease depends upon your altitude:

  • 3000-5000 feet: for every 1 teaspoon needed, decrease 1/8 teaspoon
  • 5000-7000 feet: for every 1 teaspoon needed, decrease 1/6 teaspoon
  • 7000 feet+: for every 1 teaspoon needed, decrease 1/4 teaspoon

Increase Liquid

As mentioned before, water boils at a lower temperature at higher altitudes, and evaporates quicker from your baked goods. If your bakes frequently turn out too dry, try increasing the amount of liquid that you use.

Here are some general guidelines:

  • 3000-5000 feet: for every 1 cup needed, add 1 to 2 tablespoons
  • 5000-7000 feet: for every 1 cup needed, add 2 to 4 tablespoons
  • 7000 feet+: for every 1 cup needed, add 3 to 4 tablespoons

Decrease Rising Time for Yeasted Breads

In higher altitudes, bread will rise faster – similar to how baking soda and powder are more powerful.

This is something to keep an eye on to make sure your bread doesn’t overprove. But if you know what to look for to tell when your bread is risen properly, it shouldn’t pose too much of a problem. 

But if it’s a consistent problem, you can also decrease the amount of yeast used by 1/4 teaspoon.

So what types of bakes are affected the most and the least by altitude?

Cakes and cupcakes are definitely affected the most! They are very reliant on texture and rise. The more delicate the cake, the more likely it is to collapse or end up too dry. To achieve the perfect cake, you may have to do a bit of experimenting.

Muffins and quick breads aren’t affected as much as cakes are, since they have a naturally denser texture that doesn’t collapse as easily. Still, you may need to tweak a few things here and there.

Pie and tart crusts are generally not affected, although if you find that they’re turning out too crumbly, you may want to add a little bit of extra water.

Cookies are probably the least affected by altitude. They generally turn out well, and it’s likely you won’t have to do much modifying to your favorite cookie recipe.

As I mentioned previously, it’s super important to only modify one element at a time if you’re trying to solve an issue. Try one method that seems like it’d solve your problem, and then troubleshoot from the resulting product.

Happy high altitude baking!

Filed Under: Baking 101, Blog, Desserts, Science Tagged With: baking 101, baking failures, baking science, high altitude, vegan baking

Leavening: Different Types of Vegan Raising Agents

October 14, 2020

The texture of baked goods is super important. For the most part, vegan baking is no different than non-vegan baking when it comes to how we make our cakes and breads rise.

But it’s still super important to understand how and why things happen.

First of all, what does “leavening” mean? In short, the word refers to the gasses in a baked good that make it rise when baked. But cakes, breads, and other baked goods can’t just rise on their own.

They need a leavening agent added to the batter or dough, which causes it to rise in the oven. Without this addition, your baked goods would have a dense, flat texture. Gross!

There’s actually three different categories of leavening agents: chemical, biological, and physical. We’ll cover all of them!

Chemical Leavening Agents

You’re probably familiar with baking soda and baking powder, which are both commonly-used chemical leaveners. 

Back in ye olden days, before these were available, cakes and breads took a long-ass time to make, because they contained yeast and had to be risen first.

But baking soda and baking powder revolutionized the baking world in the 1800s. Suddenly, you could bake something in under an hour! Your baked goods didn’t have to have a yeasty aftertaste! You could have extra time for other fun stuff, like enjoying the industrial revolution!

But how are these two products different?
A jar of baking soda
Mmmm, soda-y!

Baking soda became widely available in America starting in the mid-1800s. It’s an incredibly useful product to have around the house, especially if you’re into natural cleaning methods. But it’s also a great leavening agent in baked goods.

Baking powder became commercially available around the same time as baking soda. It’s basically baking soda with a weak acid, (plus a stabilizer like cornstarch or cream of tartar to prevent any reactions from happening before you put it into your baked goods).

So what makes baking soda and baking powder work?

Think back to your grade school science classes:

a base + an acid = a reaction!

Baking soda works in your baked goods just like it does in your science fair volcano. It’s a base that needs an acid to make it rise – and make your baked goods nice and fluffy. That’s why recipes that use baking soda will normally also have an acidic ingredient (such as vinegar or lemon juice).

Once it’s in the oven, those carbon dioxide bubbles will make your cakes and cookies rise beautifully.

Baking powder, on the other hand, is a complete leavening agent. It’s got both a base (baking soda) and an acid in it. You can just add it into your baked goods, and the baking powder will react to the moisture in the batter or dough. It will continue to rise in the oven, similar to baking soda.

Biological Leavening Agents

Dry yeast is the main biological leavening agent that you’ll use in baking. There are two main types you can buy. They look similar, but you use them differently:

Active dry yeast needs to be dissolved and activated in water before you mix it with the rest of your ingredients. It’s what most recipes use, and more common to find in supermarkets.

Instant dry yeast can be added straight to your dry ingredients. This means you can cut the rising time in half (although a longer rising time does give bread more flavor. So it’s a trade-off.)

Dry yeast in a bowl
Mmmmm, yeasty!

But why does this weird brown powder make your baked goods rise?

Well, yeast is a type of fungus. It’s a living organism that eats sugar for energy – this is why quite a few yeasted bread recipes include a tablespoon of sugar. This process ferments the sugar, and carbon dioxide is produced as a byproduct.

This is a relatively slow process, which is why you need to let bread rise on your counter for a few hours before baking it. A warm environment can help speed it along, but you can’t rush the rising time.

So why do you have to knead yeasted breads?

Yeast is most frequently used in recipes that have a strong gluten content. This allows for the air pockets created by the carbon dioxide to hold in place and create a nice open texture. You need to knead breads to build up the gluten structures.

For other baked goods that have looser gluten structures (a.k.a. those baked goods that warn you “do not overmix the batter/dough!”), yeast doesn’t work as well.

Wait, back up! You said that yeast is a living organism! Does that mean it’s not vegan?!

Yeasted breads are totally vegan – as long as they don’t have stuff like eggs and dairy in them!

Yeast is living in the same way that mushrooms and plants are living. All of these things grow naturally, but they don’t have nervous systems and can’t feel pain.

So the vast majority of people agree that yeast is vegan. Using it to make bread or ferment beer doesn’t cause it any suffering (yay!).

Same thing with sourdough starter, another type of biological leavening agent used in place of yeast in sourdough bread. You have to “feed” it with flour and water every few days to keep it active, but it’s not like an animal that feels pain.

So in short, using yeast or sourdough starter to make bread is totally vegan! Go forth and make delicious bread.

Physical Leavening Agents

You can actually create texture and lightness in your baked goods… without adding any other ingredients. Wow!

The secret is air. If you’ve been baking for a while, you’ve probably already used this without really knowing why. For instance, the first step of a lot of cookie recipes is to cream butter and sugar together for a few minutes until light and fluffy. This is to help the texture of the final product and create a delicate rise.

Mmmmm, airy!

Air is also the leavening agent commonly used for the most delicate of baked goods.

In non-vegan baking, it’s common to whip lots of air into egg whites to make recipes like meringues and angel food cake. It’s a bit harder to make a direct one-for-one vegan substitute, but it is definitely possible!

With more and more people baking vegan, the community’s been finding cool new ways to turn your favorite foods vegan, without compromising too much on texture or flavor.

One example of this is aquafaba, or the liquid in a can of chickpeas. You can whip it up very similarly to egg whites, giving you lots of air to create a perfect texture. It makes an especially good vegan meringue substitute. This was only discovered in 2015 as a good egg white substitute, so bakers are still figuring out everything that aquafaba can possibly do.

So how else can baked goods be physically risen?

Steam! This is seen in baked goods like choux pastry and puff pastry.

In puff pastry, you work to create many layers out of pastry, with butter sandwiched in between. When the pastry is in the oven, the steam from the butter evaporates, making it puff and giving it texture and structure!

Similarly, as the liquid content of a choux pastry dough evaporates in the heat of the oven, the steam causes the pastry to rise.

I hope you have learned a lot about the different leavening agents you can use in vegan baking! Let me know if you have any questions or comments down below.

Filed Under: Baking 101, Blog, Science Tagged With: baking 101, baking powder, baking science, baking soda, leavening, vegan baking, yeast

« Previous Page
Next Page »

Primary Sidebar

Recent Posts

  • Baking 101: Vegan Egg Wash
  • Kitchen Tools 101: Kitchen Scales
  • How To Veganize Recipes: A Guide
  • Ingredients 101: Non-Dairy Milk
  • How To Convert Baking Soda To Baking Powder In A Recipe

More Cool Stuff!

What’s The Difference Between Metal, Glass, and Silicone Bakeware?

bread

Baking 101: Vegan Egg Wash

Flour in a glass jar

Baking 101: Self-Rising vs. All-Purpose Flour

Shelf of dry goods in glass jars

Vegan Baking 101: Vegan Egg Substitutes

  • Instagram
  • Pinterest

Copyright © 2025 The Brownie Quest on the Brunch Pro Theme